Assignment #1: Lines
Place all of these elements on a single page. Export as a PNG (raster) file. It should have a name like "lines1.png".
- Open Adobe Illustrator and create a new tabloid sized document by going to the "Print" tab and selecting "tabloid"
- Choose a state from this map of the eastern half of the US. This map is in a raster JPEG format that is composed of pixels. The map can be copied and pasted into Illustrator. Once opened in a browser, it can be copied and pasted into Illustrator by clicking on the Edit tab and selecting paste.
- After you have chosen a state, increase the size of the image while maintaining its proportions. First, make sure the cursor tool being used is the selector tool (looks like a standard cursor) by clicking on it in the left side menu. Then click on the image, if it is not already selected. Next, hold shift while click-and-dragging the corner of the image to increase the height/width.
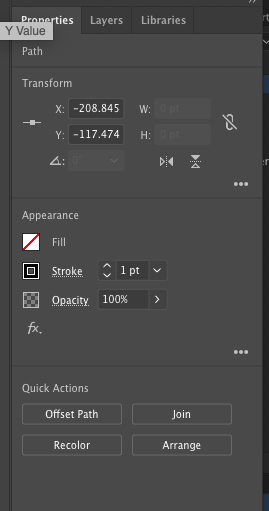
- Reduce the opacity of the map by selecting the graphic and turning down the opacity percentage in the properties menu on the right.
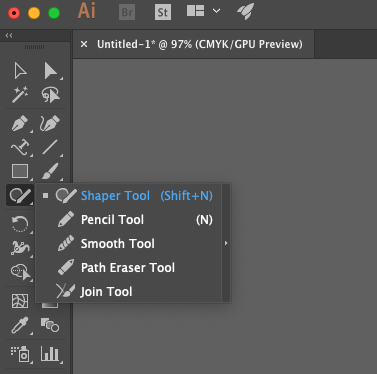
- Pencil tool: found by right-clicking on the shaper tool. Set the smooth vs. accurate level by clicking "Tool Options" in the properties menu. Click and drag to draw.
- Pen tool: We're not using bezier curves on this assignment. Click to start line, and change to the selector tool to end the line.
- Outline your selected state using a combination of the pencil and pen tools. Click on the last point to continue the line.
- When you are done outlining your state, go back to the selector tool, and select the background image that you used to trace your state. Hit delete on your keyboard.
- Rotate tool: Select your state outline and hover your mouse on the outside of a corner anchor. Rotate the state so that it is relatively straight by dragging the corner handles.
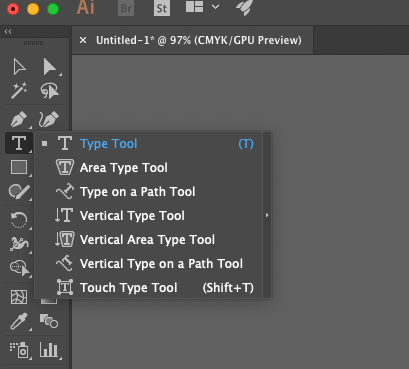
- Type tool: Label the state.
- Double line: Create a double line using the rectangle tool. Create a short and wide rectangle with black fill, and create a second rectangle that is shorter and slightly wider. Make the second rectangle white and lay it over the first rectangle.
- Create a dashed line by creating a straight line with the pen tool, click "Stroke" in the appearance panel in the properties menu, and check the box next to "Dashed Line"
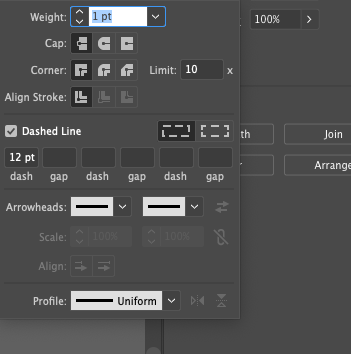
- Add a line with arrows by creating a straight line with the pen tool, click "Stroke" in the properties menu, and select two arrowheads
- Text along path: Add a river line with the pencil tool, copy and paste the line next to the original line, select "Type along Path" tool, click at the start of one of the river lines, type a name of a river, and align the label with the river line. Make the river line blue.
- Add a line of characters by creating a wavy line with the pencil tool, choosing a color for the stroke, copy and paste the line and type along path on second line using Zapf Dingbats font, and align the text line with the wavy line. Move the text down so it is intersected by the line and increase the spacing between letters.
- Add a railroad line by creating a wavy line with the pencil tool, making it black, copy and paste the line and type along path on second line using only "|", and align the text line with the wavy line. Move the text down so it is intersected by the line and increase the spacing between letters/characters.
- Add your name in one of the corners.
- File → save as: desktop, create a folder called "Lines1," name your file "lines1.ai" and save it in the new desktop folder.
- File → print: select the laser jet printer and print.
- When you are ready to upload to your website: File → Export as... PNG: select the Lines1 folder, title the file lines1.png, check "Use Artboards" and select white for the background, and save.